

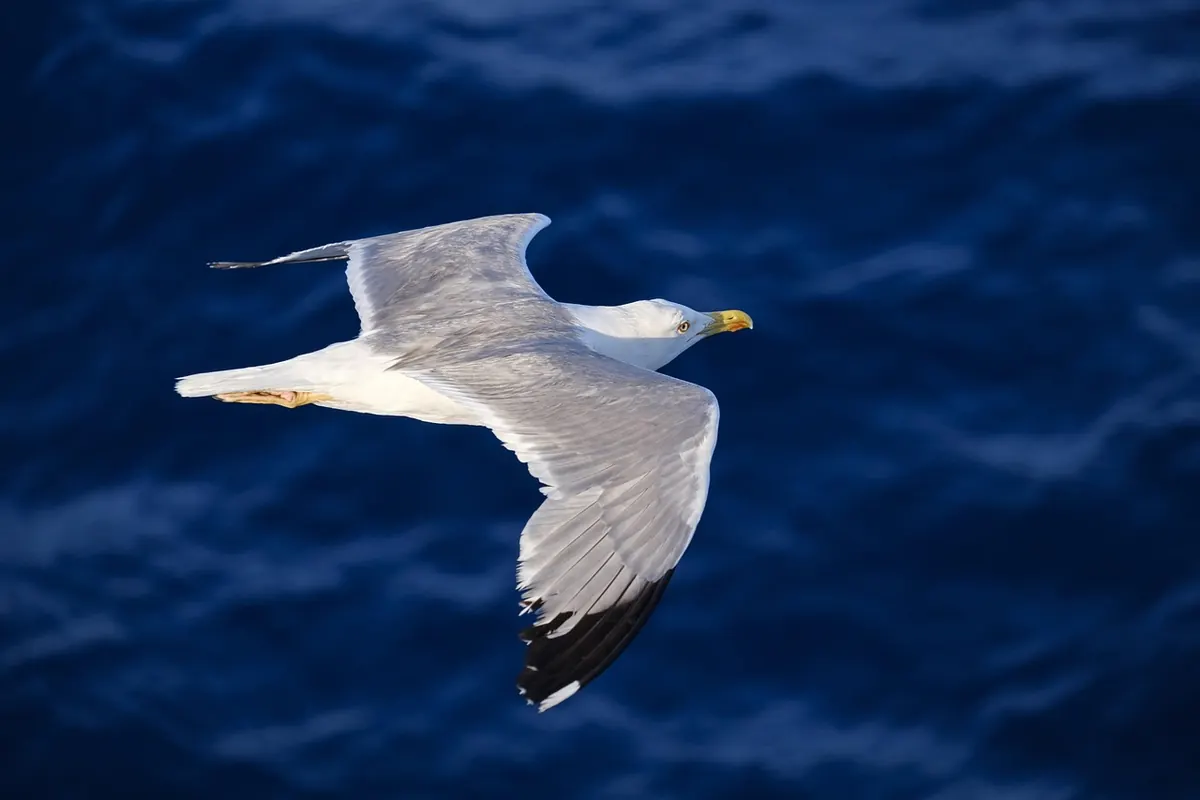
Gulls are the easy birds to find and the hard birds to photograph well. They appear close, then drift out of frame. They cross a bright sky, then drop against a cluttered harbour wall. The settings that work for a perched herring gull rarely survive the first wingbeat. The good news is that flight photography rewards a few deliberate habits more than expensive gear. Set the shutter speed first, give autofocus a fighting chance, pan smoothly, and treat the background as part of the composition. The rest is time on the coast.
Shutter Speed: Find Your Floor, Then Add a Little
Shutter speed is the first decision because it controls wingtip sharpness. A gliding gull can be sharp at 1/1000 sec. A banking gull with fast-moving wingtips often needs 1/2000 or more. Start at 1/2000, open the aperture, and use Auto ISO to hold that speed. In bright coastal light you may run out of shutter speed before you run out of aperture. If the light drops, accept 1/1600 for large gulls in level flight, or 1/1250 for a slow glide. Drop to 1/800 only when you want blurred wings and are willing to accept a low keeper rate.
Expose for the Bird, Not the Sky
Gulls are white birds against bright skies, which is a recipe for blown highlights. Watch the highlight warning on your LCD and pull exposure down slightly when the sun is high. A white body with detail in the wing coverts is better than a pure white shape with no texture. If the bird is backlit, expose for the bird and let the sky go bright; that rim-lit look can be lovely, but it is a different photograph from a clean field-guide shot. Raw files give you more room to recover highlights, so use them if your camera supports it.
Do not be afraid of ISO 800 or 1600 in good light. A sharp, slightly noisy frame beats a clean, soft one. Use high-speed burst, but shoot short bursts of three to five frames. Long bursts fill cards and make you lazy with timing.
Autofocus That Stays With the Bird
Use continuous autofocus, not single-shot. Choose a wide or zone area if your camera tracks well, or a central group if the background is busy. Bird-detection modes can help, but verify them on gulls rather than trusting the label. Keep the focus point on the body, not the wingtip; the wingtip moves fastest and gives the AF system a moving target. Back-button focus is worth learning because it separates focusing from shutter release. Pre-focus on a likely flight path, then let the bird come into your zone.
- AF mode: continuous, with focus priority if your camera allows it; release priority only when the action is unpredictable.
- Drive: high-speed burst, short bursts, frequent pauses.
- Focus limiter: set your lens to a distant range if it has one, so it does not hunt through the whole focus scale.
- Stabilization: use panning mode if your lens offers it; switch it off at very high shutter speeds if you notice drift.
Gulls often fly into the wind. Position yourself upwind and let them come toward you rather than chasing them down the beach. When a bird turns toward you, hold the focus point on the chest and fire a short burst as it fills the frame.
Panning: Move From the Hips, Not the Wrists
Panning is not chasing. Set your feet, rotate from the hips, and follow through after the shutter closes. Keep your elbows in and your grip relaxed. Start tracking before the bird reaches you, not when it is already overhead. A smooth, steady turn gives autofocus and stabilization a chance to work. If you stab at the shutter, you will get camera shake even at high shutter speeds. Roll your finger onto the button rather than jabbing it.
Lead Slightly, Then Let the Bird Catch Up
Place the focus point just ahead of the bird’s shoulder and let it fly into the frame. For a gull moving left to right, start with the point slightly left of the body. This small lead helps you keep the bird centered as you pan. Handholding is often better than a tripod for gulls because you can react quickly; a monopod or gimbal helps with a heavy lens but can encourage stiff, mechanical panning. Breathe out as you track, and follow the bird with your whole torso.
Read the Background Before You Raise the Camera
A sharp gull against a messy harbour is still a messy photograph. Look past the bird first. Open water, distant haze, a uniform overcast sky, or a soft sand dune will separate the subject cleanly. Cranes, wires, parked cars, and other birds will pull the eye away. Move your feet. Get low to put water behind the bird instead of a hard horizon. Put distance between the gull and the background; that separation matters more than a wide aperture.
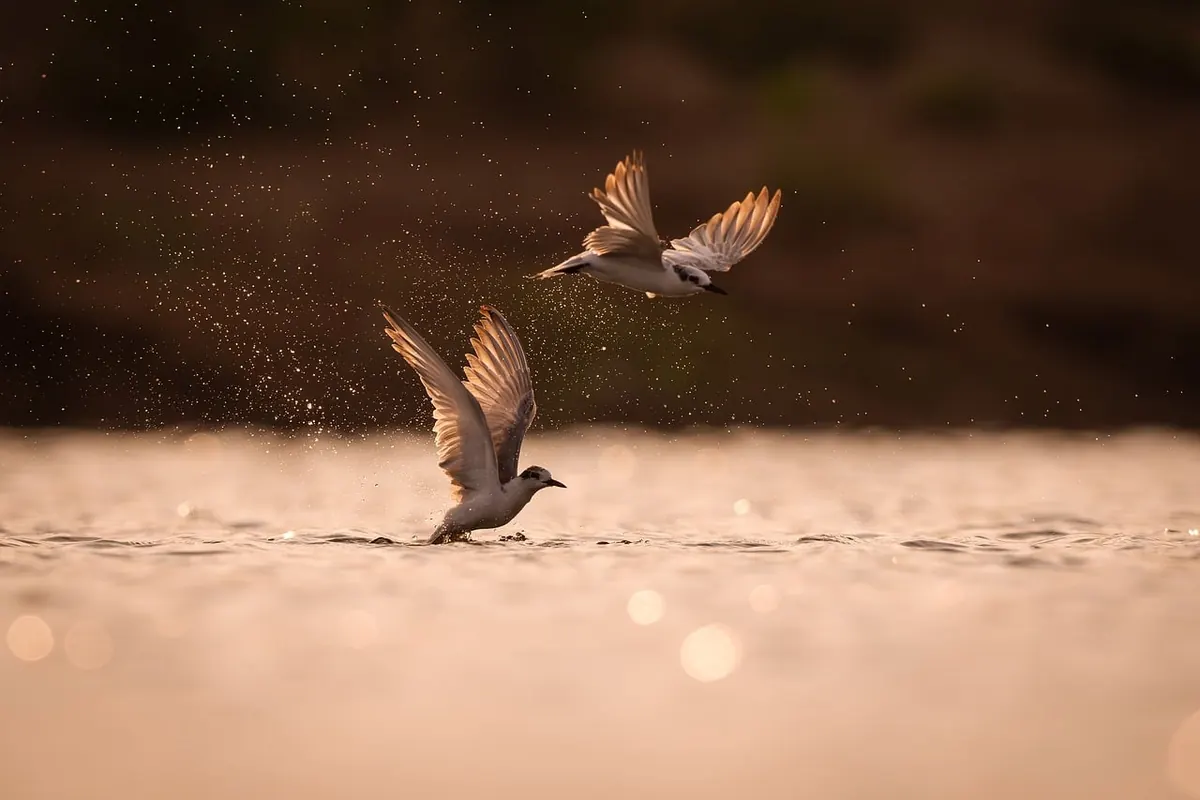
You do not need f/2.8 for flight shots. At typical coastal distances, f/5.6 to f/8 gives enough depth of field for the body while a distant sea or beach falls softly out of focus. Avoid a horizon line cutting through the bird’s head or body. Wait for the gull to rise or drop, or change your own height, until the background is clean. Wind direction helps here: gulls hovering into a headwind often hold a predictable position, giving you time to choose a better angle.
Light and Weather on the Coast
Early morning and late afternoon give side light that models the bird’s shape and keeps white feathers from blowing out. Overcast skies are underrated for gulls; the even light preserves detail in the wings and belly. Harsh midday sun creates dark underwing shadows and bright white hotspots, which are hard to balance. Position the sun behind you or over your shoulder for front-lit birds. Backlighting can produce a dramatic rim, but it demands careful exposure and a clean, dark background.
Weather is part of the scene. A stiff onshore wind pushes gulls into a hover along the beach or headland, which is ideal for practice. Sea spray and rain add atmosphere, but protect your gear and wipe the front element often. Do not wait for perfect conditions; common gulls on an ordinary day are the best subjects for learning.
A Field Routine That Saves Frames
- Set the camera before you leave: 1/2000 sec, continuous AF, high-speed burst, Auto ISO, raw.
- Scan for flight paths and note the wind direction.
- Pre-focus on a distant gull or a high-contrast point at a similar distance.
- Track early, fire short bursts, and follow through after the bird passes.
- Check the histogram and focus after a pass, not after every frame.
- Change one setting at a time so you know what helped.
Keep a spare card and battery in your pocket. Cold coastal wind drains batteries faster than you expect, and a missed frame because of a full card is a self-inflicted wound.
The Keepers Come From Practice, Not Luck
Gulls are abundant, which makes them perfect practice. Spend twenty minutes with a common species and work on one thing at a time: shutter speed, then panning, then background. Cull ruthlessly and keep the frames where the wing position, focus, and light all agree. The best flight photographs often come from ordinary birds on ordinary days, made with a high shutter speed, a smooth turn, and a background that lets the bird breathe. Then wait for the wingbeat that makes the frame.
Photo: Bru-nO / Pixabay