




A field guide can feel like a crowded train station: every plate has arrows, every caption has three abbreviations, and every bird seems to have four looks. That is especially true on the coast, where a single mudflat can hold gulls, terns, sandpipers, and egrets in the same view. The trick is not to read every word. It is to use the book in a sequence that matches how identification actually works. Once you know where the range map sits, what the plumage labels are telling you, and how comparison pages are arranged, the guide becomes a tool instead of a test.
Learn the guide’s layout before you need it
Spend ten minutes with a new guide before you take it outside. Read the introduction, but skim it. You are looking for the legend, the abbreviations, and the order of the plates. Some guides group birds by family; others put similar-looking species on facing pages. Some use a quick index inside the front cover. Find those features and mark them with sticky tabs. A small tab at the gull plates and another at the shorebird plates will save more time than memorising a dozen field marks.
Pay attention to the scale. A plate may show birds at different sizes, or it may shrink everything to fit. The caption usually tells you. If the guide says “actual size” or gives a measurement, trust that. If not, compare the bird to a familiar species on the same page. A beginner’s most common error is opening the book at random and reading the first description that sounds plausible. Use the layout to narrow the search first: sea, shore, marsh, or woodland edge.
Use range maps as filters, not answers
Range maps are often the most underused part of a field guide. They are also the easiest to misuse. A map tells you where and when a species is likely, not what the bird in front of you is. Read the legend once, because colours and patterns vary between guides. A solid colour may mean year-round presence; a shaded band may mean winter; arrows may show migration. Do not assume the colours mean the same thing in every book.
On the coast, maps help you ask better questions. Is this a bird that winters here but breeds far north? Is it a passage migrant that appears for a few weeks? Is it resident along rocky shores but absent from sandy beaches? If the map says the species is unlikely in your area in July, treat that as a caution, not a verdict. Birds turn up out of range, and maps are generalised. Still, a quick map check can remove half the plates from consideration before you start reading descriptions.
A simple map check
- Find your location on the map and note the season.
- Read the legend for colours, shading, and arrows.
- Ask whether the species is expected here now, or only in another season.
- Keep the map open while you compare two or three candidates.
Use the map after you have a candidate, not before you have looked at the bird. Otherwise you may talk yourself into a species because it is “supposed” to be there.
Translate plumage labels into plain questions
Plumage labels are where many beginners stall. Guides use terms such as breeding, nonbreeding, juvenile, first-winter, adult, alternate, and basic. The exact system depends on the book, so read the glossary. You do not need to memorise every molt stage to identify a coastal bird. You need to know which labels apply to the bird you are seeing.
Start with the obvious. Is the bird in fresh, worn, or patchy plumage? Does it have a bright bill and bare parts, or dull ones? Is it a large, heavy gull with a strong bill, or a small, neat wader with a fine one? Then look at the labels. A gull in its first winter may be brown and mottled; an adult in winter may be clean grey and white. A shorebird in breeding plumage may show warm tones that disappear by autumn. The label is a shortcut, not a separate language.
Read the caption in this order: shape and size, bill and legs, plumage, behaviour. That order keeps you from fixating on colour. Colour changes with light, wear, and mud. Shape and behaviour are more stable. On a windy estuary, a bird may look darker than the plate, and a wet bird may look sleeker. Give the structure more weight than the shade.
Use comparison pages to rule out, then confirm
Comparison pages are the heart of a good guide. They put similar species side by side so you can see what the differences are meant to be. Read the labels and arrows, but do not try to absorb every mark at once. Pick the two or three species that match your bird’s general shape, habitat, and behaviour. Then look for one clear difference: bill length, leg colour, wing pattern, tail length, or feeding action.
Coastal birds reward this approach. On a mudflat, you might have several small shorebirds feeding at different speeds. One may probe deeply, another pick at the surface, another run and stop. Use the comparison page to separate them by bill shape and feeding style before you worry about feather detail. Among gulls, compare bill colour, leg colour, and the amount of dark in the wingtips. Among terns, compare the bill and the length of the tail streamers. The guide is showing you what to look at, not asking you to see everything.
Good identification is often a process of elimination. The comparison page helps you say “not this one” with confidence.
If the guide uses arrows, follow only the ones that point to the difference you can actually see. A tiny arrow to a tertial feather is useless if the bird is asleep or distant. Start with the marks visible at your distance. Then step closer, or wait for the bird to move.
A field routine that keeps the book manageable
Try this sequence the next time you are on the coast. Watch the bird first, without the book. Note its size compared with a familiar species, its shape, its bill, its legs, and what it is doing. Write three words in a notebook or on your phone. Then open the guide to the right group, check the range map, read one plumage label, and use the comparison page to test two candidates. Close the book and look at the bird again. If the features still fit, you have a working identification. If not, start again with shape rather than colour.
Keep the guide dry and manageable. A plastic bag or a simple cover helps on a spray-prone shore. Use tabs for the groups you see most often. Do not carry three guides “just in case”; one good guide read properly is better than three half-read ones. And give yourself permission to leave a bird unidentified. A note such as “small sandpiper, dark legs, fast probing, muddy creek” is more useful than a wrong name.
Keep the guide a tool, not a test
The best field guide is the one you can open without dread. Learn its layout, use the maps to filter, read plumage labels as plain questions, and let comparison pages do the close work. On the coast, that means watching shape and behaviour first, then checking the book. With practice, you will spend less time flipping and more time looking. And the birds will still be there when you look up.
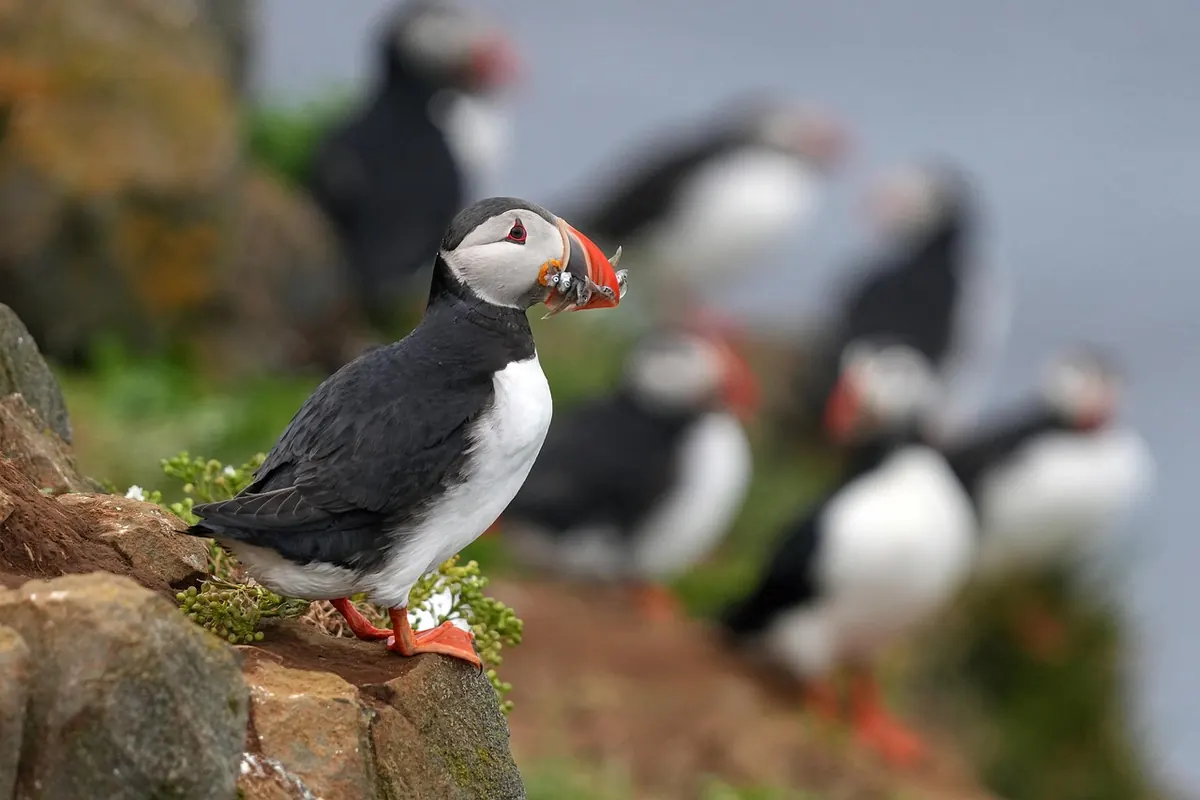
Photo: vyvolejto / Pixabay